Want to create your own videos? Whether you are creating it to post on YouTube, social media or your website, here are some tips on how to get started. This article explores the importance of strategic targeting and offers valuable insights to help optimize your business videos for maximum impact.
1. Creating a business video with a purpose

When it comes to promoting your business through videos, prioritize quality over quantity. Instead of aiming for a wide but unengaged audience, focus primarily on reading the right people who can benefit from our products or services. It is therefore crucial to first consider the content of your video and the target audience to connect potential clients that are a great fit for your business. What is your goal?
For example, is it to:
- Will it be part of an online course?
- Is it to raise awareness of you, a topic, an upcoming event, a product or service or your business?
- Will it be part of a funnel to drive people to a web page?
- Get the most view hours and subscribers so you can monetize your channel?
- Who is the intended audience? Create some ideal personas that include gender, age, situation, location, beliefs and other demographics)?
- What type of device will they most likely be using to watch or listen to your video?
- On which social media platform(s) or website(s) will they be watching?
- Will this content be free or will they need a subscription to access it?
- Are you representing yourself or an organization?
- Do you have a brand (look and feel)?
- Will the video be of you, others, places, products, your computer desktop, text or a mix of these?
- Will you be adding your voice, music or sound effects afterwards?
All of these factors will have an impact on the content. For the purpose of this article, we will assume that you will be recording yourself speaking for at least part of the video.
2. Choosing a look for your business video
Decide what you are going to say. You can either memorize a script or just speak from an outline. Rehearse several times aloud. If you record and watch yourself practicing, you will be amazed at the improvement between your first attempt and your last, especially if you are not used to talking in front of a camera or people. Just keep in mind that people don't know what you meant to say. If it is good enough but isn't quite the way you intended, people will still think it's great.
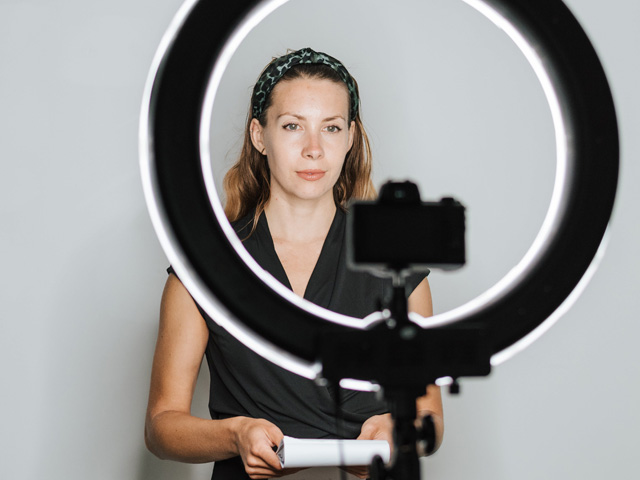
Decide how you want to look. This includes any clothes, makeup and accessories you may want to wear, and even how you want to style your hair. The reason for this is to appear not only professional but consistent should you need to record additional or replacement parts for your video at a later date.
3. Choosing a time and place to record your video

Outdoor locations are wonderful and can be a beautiful setting for your video. But if your target audience is a business person who work indoors? A office setting might be better suited your video. Someone who works from home? Do it from a home office… unless your intention is to get them outdoors.
Weather, noise and the lighting at various times of the day can affect the quality of your video considerably. If you can do it all in one shot, it's not as much of a problem as if you need to re-shoot parts of a longer video at a later time. Wind can also be problematic when shooting outdoors. It sounds crazy but the quality of the audio is more important than the quality of the video itself. Nobody will want to watch a video if you are hard to understand due to wind and other background noise.
Indoor lighting and sound can often be easier to control than the outdoors. You just need to watch out for echo from the walls, ceiling and floor and make sure that you are not too far from the camera. Do some testing and use headphones or earbuds to listen to the quality of the audio you recorded of yourself.
Whether choosing an indoor or outdoor location, be mindful of how the background looks. Ensure that it is tidy, that it provides lighting in front of you when facing the camera and that it doesn't end up looking like you have something sticking out of your head like a building, branch, lamp, etc. If you have one, a bookshelf can make a great background but so can many other places.
4. Optimizing your video camera for best quality
So far, you have decided what you want to say, how you want to look, and where you will be recording your video. It is time to set up your camera.
You don't need an expensive camera and lighting equipment these days. Chances are, your smartphone has a good-quality camera and microphone built right into it. The best camera in your phone is the back-facing one, the one on your phone when you don't see the screen. It takes a little more practice to use this one if you don't have someone to position the camera for you but the quality will be much superior. Smartphones in the last few years may also have good quality cameras on the front but the focus is optimized for about arms length. Compare the quality of the two and use the one that looks best on your phone, in your location and with your lighting.
Regardless of which camera you decide to use, front or back, switch it to video mode, select the camera you will be using and go into the camera settings. Find the setting for the resolution and set it to the highest setting. This will consume more of your phones storage memory when recording but it is important to start with the highest quality possible as the process of editing will degrade the quality of the video.
If you don't plan on editing the video, 1080p (1920 x 1080) with a (16:9 aspect ratio) is ideal unless your video is going to be published on TV screens in which case you might want to get as close as possible to 4K (3840 x 2160), especially for scenic videos. The minimum acceptable resolution you should consider is 720p.
On a side note, if you are having someone create or edit a video for you, always insist on getting a copy of the highest quality master video that they can produce in addition to the version that you will be uploading to your social media sites.
Always make sure you start your recording session with a full battery in your phone whenever possible. It is very discouraging to be almost finished recording your video and have your phone shut down mid-recording.
The social media platform will also determine whether your phone should be standing up (called portrait orientation) or lying down (called landscape orientation). For example, YouTube Shorts and TikTok are recorded in portrait orientation while regular YouTube and videos you might post on your website would be in landscape orientation. If you are not sure how the video is going to be used, record in landscape. Some video editing software can help you cut off the right and left sides of a landscape video in order to turn it sideways. However, if you record in portrait orientation, your only options for turning it into landscape is to zoom in and crop, which may not be practical, or to live with black bars or other static image on the sides which doesn't look very professional. Also, check with the target platform to find out if they have any specifications. For example, YouTube Shorts must be 1920px tall by 1080px wide. (px is pixels)
Can you guess what is the most common issue when video recording using a smartphone? The dirty and oily lens of your camera! You may be very careful but your hands and face produce oil, you may wear makeup, your pockets/purse may have lint (and other stuff), all of which accumulate on the lens of your smartphone cameras. Clean the lens before shooting with it. It really does make a big difference. A nice soft microfibre cloth does a great job.
Next, you will want to figure out how to place the camera in just the right spot. A tripod is ideal but you can use other things if you don't have one yet. To prevent shaking, try not to hold the camera in your hands if possible.
5. Recording your video -- Take 1…2..3
You have everything ready and in position. You have worked out your issues and it is time to record your video. Push the record button and relax go to your spot in from of the camera, breathe and take a moment before you begin. Start talking. If you mess up, just pause, and say a loud BEEP! Pause and start over. Do not stop and start the camera. This is a little trick that I will explain in a few moments.
If your video is long, don't feel the need to start over from the beginning just pause, say BEEP!, pause and start back from just before you messed up. Burst into laughter? No problem. Pause, BEEP! pause and redo that segment. When you are done, pause and count to 5 in your head before you move to go stop the recording. This space can be used to facilitate video transitions such as fading out or into the next scene.
The only time that this last strategy won't work for you is if you have some background noise like music or activity in the background. If that is the case, you will need to record your video from beginning to end in one shot. You can still use the pause BEEP! pause method but you will always need to start over from the beginning if you mess up.
Why the pause, beep! and pause? Because you will be able to fix this all up during post-production in your video editor. The pause at the beginning and end will enable you to add a fade-in and fade-out effect which would not have been possible if you had started speaking right away. In the video editor, you will be able to see distinct spikes in the audio graph whenever you said BEEP! making it easier to locate where you need to edit out mistakes (i.e. bloopers). Of course, you will remove these from your video.
By not having to constantly start and stop the camera, and knowing that it is okay if you make mistakes, you can be more relaxed and hopefully enjoy the process.
6. Tweaking and editing your video
As for video editors, if you have a Mac, the go-to choice for many people is the easy-to-use iMovie. This is also available on iPads. Here is a nice introduction to iMovie basics.
Unfortunately, iMovie is not available for Windows. However, good alternatives for beginners include Capcut (web, Windows, MacOS, Android and iOS) and Shotcut (Windows, MacOS and Linux).
If you want to learn one video editor and use it on both your smartphone (Android or iOS) and your computer (Windows or Mac), or you would rather not or cannot install software on your computer, recommend starting with Capcut.
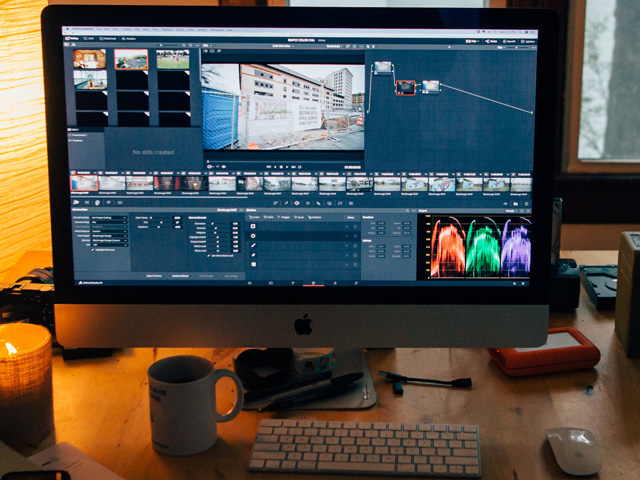
The best and most advanced free video editor is DaVinci Resolve which is often used to edit Hollywood movies. The free version is often more feature-rich than most paid software and is available for MacOS and Windows. However, with more complexity and features comes a steeper initial learning curve. Regardless of which one you choose, there are lots of introductory videos available on YouTube to help you get started.
This will enable you to easily edit your video, and apply special effects (sparingly!!) and transitions such as fade in and fade out. Although it might be tempting to make use of the large selection of features, resist the urge as a beginner and keep it simple.
When it comes to background music, as a general rule of thumb, the volume of the audio should be about 30% of your voice, or about 70% lower than your voice. Listen with headphones to determine if the background sound is still too loud or near impossible to hear and adjust it accordingly.
7. Uploading your business video online
Once you are happy with the way your business video looks, it's time to upload it to the web. Regardless of whether you are uploading to YouTube, Vimeo, Instagram, Facebook, LinkedIn, TikTok or even your business website, you will need an account to login into that website. How you do this will vary from one service to the other.
- Create an account on Facebook | Create a Facebook Group/Page | Upload videos to Facebook
- Create an account on YouTube | Create a YouTube Channel | Upload videos to YouTube
- Create an account on Instagram | Upload videos to Instagram
- Create an account on TikTok | Upload videos to TikTok
- Create an account on LinkedIn | Upload videos to LinkedIn
Although these sites are ranked by number of active users in 2023, when it comes to business, it is not about getting in front of as many people as possible but rather to get in front of the people who have a problem with which you can help. So for instance, if you are an executive coach, you would likely find more interest from people on LinkedIn, even though it is at the bottom of the list.
Artists might want to explore DeviantArt, Dayflash, and Instagram. Looking for something more personal? Look to Facebook. Of course, you could be on all of the social media platforms. There are even specialized tools like HootSuite to do that. However, remember that we are focusing on quality instead of quantity, making the most of your efforts. Start by focusing on one or two platforms and get a feel for whether that is where your target market hangs out.
IMPORTANT: Review the Terms and Conditions for the use of each platform. You do not want to establish a successful business and end up having your account shut down for non-compliance.
Again, it is important to first decide what your video is going to be about and who is your target audience.
8. Regularity is good for business
Once you get going with creating videos regularly for your business, try to plan ahead. Ideally, it would be great if you could record and edit your videos 2 weeks before publishing them. That way, if you get sick or want to go on vacation, or you have some equiment failure, you can schedule the release of your videos ahead of time.
Only take on what you can handle regularly. If you can only do one video per week, that's 52 per year! If you can do one per day, hope you get some clients soon so that you don't have that much free time on your hands.
Your audience will appreciate regularly scheduled informative posts and even look forward to them. This gets you in front of them while building up your credibility and trust. If you've ever seen a YouTuber that you wish you could work with, you will know what I am talking about. Packed with evidence-based practical content, your audience will love you.
When it comes to advertising an upcoming class, product release or event, be strategic. Think of traditional-style TV or new lower tier streaming services. Who would watch 45 minutes of advertising and 15 minutes of entertainment per hour? Not me. There are several approaches to getting this content out to your people but they all involve the 80/20 approach where you are delivering free quality information about 80% of the time, and advertise about 20% of the time. Here are some examples:
- In a 3-minute video, deliver 2.5 minutes of content and an invitation to action for 30 seconds.
- In a 10-minute video, deliver 9 minutes of content and 1 minute of advertising/call to action.
- In a 30-minute video, deliver 25 minutes of content and include 5 minute of advertising.
- Create 4 or 5 videos of content and then 1 video of advertising.
I know. All you want to do is tell people to come and buy your products or higher you. But people need time to get to know you. If they like what they see and hear, they will love to buy and work with you.
Hope you found something useful in all of this.
Michael Milette
Add a comment: